Warning: WP_Syntax::substituteToken(): Argument #1 ($match) must be passed by reference, value given in /www/wwwroot/fawdlstty.com/wp-content/plugins/wp-syntax/wp-syntax.php on line 383
Warning: WP_Syntax::substituteToken(): Argument #1 ($match) must be passed by reference, value given in /www/wwwroot/fawdlstty.com/wp-content/plugins/wp-syntax/wp-syntax.php on line 383
Warning: WP_Syntax::substituteToken(): Argument #1 ($match) must be passed by reference, value given in /www/wwwroot/fawdlstty.com/wp-content/plugins/wp-syntax/wp-syntax.php on line 383
Warning: WP_Syntax::substituteToken(): Argument #1 ($match) must be passed by reference, value given in /www/wwwroot/fawdlstty.com/wp-content/plugins/wp-syntax/wp-syntax.php on line 383
Warning: WP_Syntax::substituteToken(): Argument #1 ($match) must be passed by reference, value given in /www/wwwroot/fawdlstty.com/wp-content/plugins/wp-syntax/wp-syntax.php on line 383
Warning: WP_Syntax::substituteToken(): Argument #1 ($match) must be passed by reference, value given in /www/wwwroot/fawdlstty.com/wp-content/plugins/wp-syntax/wp-syntax.php on line 383
Warning: WP_Syntax::substituteToken(): Argument #1 ($match) must be passed by reference, value given in /www/wwwroot/fawdlstty.com/wp-content/plugins/wp-syntax/wp-syntax.php on line 383
Warning: WP_Syntax::substituteToken(): Argument #1 ($match) must be passed by reference, value given in /www/wwwroot/fawdlstty.com/wp-content/plugins/wp-syntax/wp-syntax.php on line 383
这篇文章将会对Python爬虫做出完整的开发指导,对于新手小白来说,很容易通过这篇文章找到合适的开发方案。
这篇文章的所有爬虫技术全部基于HTTP,也就是说,爬虫主要是针对浏览器看到的东西,将内容给抓取出来。此处不讲其他TCP/UDP爬虫的原因是,只有HTTP协议在用户角度能直接看到,在不清楚具体TCP/UDP协议内容的情况下,很难找到通讯的方法。当然,如果你有接口文档,开发出TCP/UDP也是很容易的事。
现在开始学习爬虫。首先说说网页。当你打开一个网站,看到的这个页面,所有内容的集合,统称一个网页。每个网页都由三部分组成:HTML、CSS、JS。
- HTML是超文本标记代码,用于负责网页整体内容的排版及布局,以及内容呈现方式。只要看到很多的<a><label>等等这种标签,说明这些是HTML代码;
- CSS是格式描述代码,用于描述格式,比如字体大小、颜色、背景图等等,网页源码中标签以内的东西,或者.css文件中,里面的内容都是CSS代码。这类代码,可以说,除了文字本身,其他能看到的基本都与CSS有关,看起来大概像这样
a { background-color: #FF0000; }; - JS是脚本语言代码,几乎所有与后台的交互,以及前台比较特殊的效果,以及所有的逻辑操作,存在于标签内,或者.js文件中,代码看起来像这样
function a (b) { return b + 1; }
除此之外,还有很多古老的格式,比如java小程序、Flash、VBScript脚本等等,此处不做考虑。开始教程之前,首先需要安装Chrome浏览器最新版、Anaconda Python3.7环境,然后再下载一个chromedriver,放入Path环境变量包含的目录或者脚本程序所在目录:
https://www.google.cn/chrome/index.html
https://www.anaconda.com/download/
http://chromedriver.storage.googleapis.com/index.html
并进入cmd,执行conda install requests
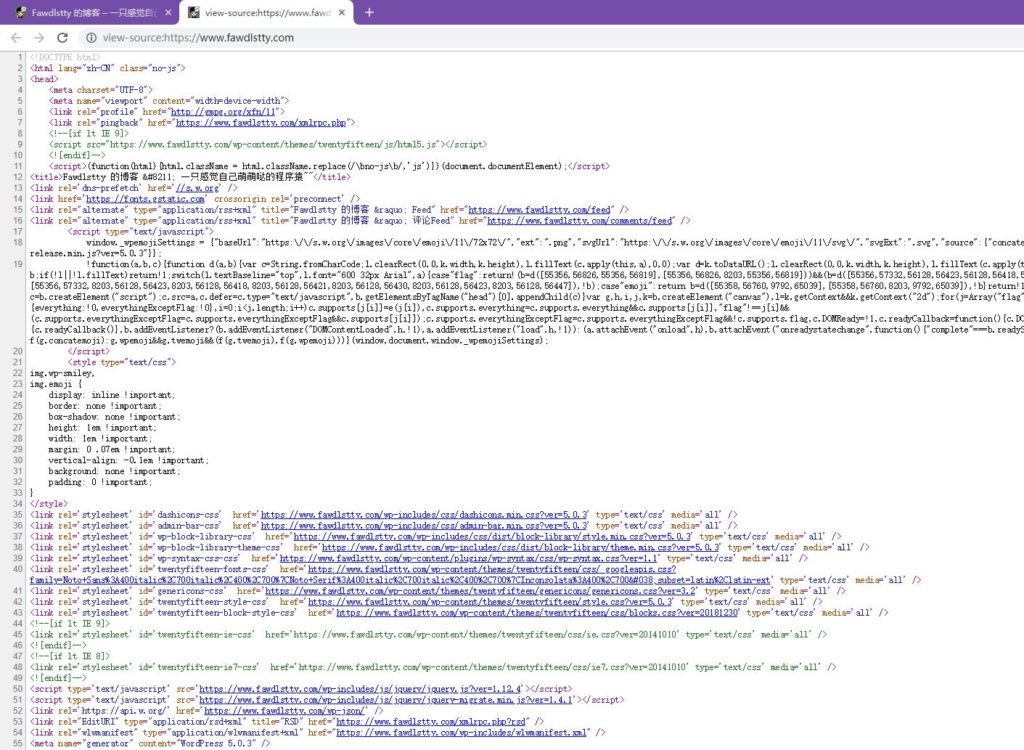
好了,我们正式开始吧。首先,我们来看看一个网页大概的架构。chrome浏览器打开一个网页,然后点右键,查看源码,出来的效果大概是这样:
除此之外,还有很多古老的格式,比如java小程序、Flash、VBScript脚本等等,此处不做考虑。开始教程之前,首先需要安装Chrome浏览器最新版、Anaconda Python3.7环境:
https://www.google.cn/chrome/index.html
https://www.anaconda.com/download/
好了,我们正式开始吧。首先,我们来看看一个网页大概的架构。chrome浏览器打开一个网页,然后点右键,查看源码,出来的效果大概是这样:
然后,我们来确定一下需要爬的网站内容,比如这个博客首页的所有文章的标题。首先我们来确定一下标题大概格式,从源码中Ctrl+F搜索一下很容易找到大概内容:
1 2 3 4 5 6 7 | ... <header><h2><a href="https://www...">【易大师网络工具箱】项目解析</a></h2></header> ... <header><h2><a href="https://www...">JavaScript纯符号输出文本</a></h2></header> ... <header><h2><a href="https://www...">几道不太简单的C艹面试题</a></h2></header> ... |
我们可以看到,标题都是在header h2 a三个标签以内的,我们一步一步来,开始编码前先下载所需支持库:
1 2 3 4 | pip install mitmproxy pip install bs4 pip install requests pip install selenium |
首先是引入库:
1 2 | import requests from bs4 import BeautifulSoup |
然后是下载一个网页:
1 2 3 4 5 6 7 8 9 10 11 12 13 | # HTTP请求内容,根据需要可以修改,主要是为了模拟浏览器 _headers = { 'Accept': 'text/html,application/xhtml+xml,application/xml;q=0.9,image/webp,image/apng,*/*;q=0.8', 'Accept-Encoding': 'gzip, deflate, br', 'Accept-Language': 'zh-CN,zh;q=0.9', 'Cache-Control': 'max-age=0', 'Cookie': '', 'Upgrade-Insecure-Requests': '1', 'User-Agent': 'Mozilla/5.0 (Linux; Android 8.0; Pixel 2 Build/OPD3.170816.012) AppleWebKit/537.36 (KHTML, like Gecko) Chrome/68.0.3423.2 Mobile Safari/537.36' #'Mozilla/5.0 (Windows NT 10.0; WOW64) AppleWebKit/537.36 (KHTML, like Gecko) Chrome/68.0.3423.2 Safari/537.36' } # 执行请求 _data = requests.get ('https://www.fawdlstty.com/', headers = _headers).text |
此时_data的内容为网页的HTML代码了,我们通过BeautifulSoup解析:
1 2 | _soup = BeautifulSoup (_data, 'html.parser') _items = [x.text for x in _soup.select ('header > h2 > a')] |
然后,我们就将标题内容给提取出来了。此处需要注意的是BeautifulSoup暂时只支持CSS Selector语法,不支持XPATH,如果有需要,也可以通过多级的方式一层一层的来找需要的内容。
这是最简单的一种情况,但有时候假设内容需要执行js才能生成,对于那种情况,最佳方案是模拟一个浏览器:
1 2 3 4 5 6 7 8 9 10 11 12 13 14 15 16 17 18 19 20 21 22 23 24 25 26 27 28 29 30 31 32 | # 引入库 from bs4 import BeautifulSoup from selenium import webdriver # 正常打开chrome _driver = webdriver.Chrome () # 打开隐藏的chrome _chrome_options = webdriver.chrome.options.Options () _chrome_options.add_argument('--headless') _chrome_options.add_argument('--disable-gpu') _driver = webdriver.Chrome (chrome_options = _chrome_options) # 打开带有代理的chrome _chrome_options = webdriver.chrome.options.Options () _chrome_options.add_argument ('--proxy-server= http://127.0.0.1:8001') _driver = webdriver.Chrome (chrome_options = _chrome_options) # 打开模拟手机浏览器的chrome _chrome_options = webdriver.chrome.options.Options () _chrome_options.add_experimental_option ("mobileEmulation", {"deviceName": "Nokia Lumia 520"})#iPhone X _driver = webdriver.Chrome (chrome_options = _chrome_options) # 打开IE _driver = webdriver.Ie () # 打开firefox _driver = webdriver.Firefox () # 普遍需要加入的代码 _driver.set_page_load_timeout (60) _driver.set_script_timeout (60) _driver.implicitly_wait (30) _driver.delete_all_cookies () # 关闭浏览器代码 _driver.quit () |
打开之后就能通过常用的操作来处理:
1 2 3 4 5 6 7 8 9 10 11 12 13 14 15 16 17 18 19 20 21 22 23 24 25 26 27 28 29 30 31 32 33 34 35 36 37 | # 打开博客 _driver.get ('https://www.fawdlstty.com') # 根据xpath查找元素 _elem = _driver.find_element_by_xpath ('body') _elems = _driver.find_elements_by_xpath ('body') # 根据id查找元素 _elem = _driver.find_element_by_id ('body') # 根据类名查找元素 _elem = _driver.find_element_by_class_name ('cls_name') _elems = _driver.find_elements_by_class_name ('cls_name') # 显示元素内容 print (_elem.text) # 显示当前地址 print (_driver.current_url) # 获取当前cookie _cookie = ';'.join ([item['name'] + '=' + item['value'] for item in _driver.get_cookies ()]) # 模拟输入 _elem.send_keys ('12345678') # 执行js _driver.execute_script ('alert ("hello")') # 模拟点击 _elem.click () # 获取当前网页的BeautifulSoup对象,用于解析数据 # 注意此处源码非实际源码,比如table里面可能会被浏览器插入tbody _bs = BeautifulSoup (_driver.page_source, 'html.parser') # 其他的操作,使用 dir (_elem) 找到元素所有属性或方法,通过help指令来获取使用方式 |
上面的操作可能还有一个问题,就是网页端检测chromedriver,比如window.navigator.webdriver,在正常环境为undefined,在爬虫环境为true。此处摘抄一位知乎大佬的答案,来源:https://www.zhihu.com/question/50738719?sort=created
过反爬方法为:
- 找到具体什么位置判断了是否为爬虫环境,根据目标网站判断方式修改以下代码
- 新增driverpass.py,写入以下代码
- mitmdump -s driverpass.py -p 8001
- 创建chrome位置使用代理的方式
1 2 3 4 5 6 7 8 9 | import re from mitmproxy import ctx def response(flow): if '/scripts/' in flow.request.url: for webdriver_key in ['webdriver', '__driver_evaluate', '__webdriver_evaluate', '__selenium_evaluate', '__fxdriver_evaluate', '__driver_unwrapped', '__webdriver_unwrapped', '__selenium_unwrapped', '__fxdriver_unwrapped', '_Selenium_IDE_Recorder', '_selenium', 'calledSelenium', '_WEBDRIVER_ELEM_CACHE', 'ChromeDriverw', 'driver-evaluate', 'webdriver-evaluate', 'selenium-evaluate', 'webdriverCommand', 'webdriver-evaluate-response', '__webdriverFunc', '__webdriver_script_fn', '__$webdriverAsyncExecutor', '__lastWatirAlert', '__lastWatirConfirm', '__lastWatirPrompt', '$chrome_asyncScriptInfo', '$cdc_asdjflasutopfhvcZLmcfl_']: ctx.log.info('Remove "{}" from {}.'.format(webdriver_key, flow.request.url)) flow.response.text = flow.response.text.replace('"{}"'.format(webdriver_key), '"NO-SUCH-ATTR"') flow.response.text = flow.response.text.replace('webdriver', '_webdriver_').replace('ChromeDriver', '_ChromeDriver_') |
比如js可以'webd'+'river'这种动态生成的反爬方式,通过修改以上代码来实现屏蔽;其次还能修改任意想修改的内容,比如把张三改为李四等等。。。
这篇文章算是比较全面的爬虫入门介绍了,开启你的爬虫入门之旅吧!